Configure Webhooks

1Money subscription endpoints (or Webhooks) allow you to receive real-time notifications when events occur in your 1Money account. This guide covers enabling and getting data from webhooks using 1Money's REST API.

Prerequisites

  • A 1Money account with API access
  • A 1Money API Key (API Credentials)
  • HTTPS endpoint with valid X.509 certificate
  • Development environment with your preferred language (Shell, Ruby, Node.js, Python, Rust etc)

Step 1. Create a Subscription URL

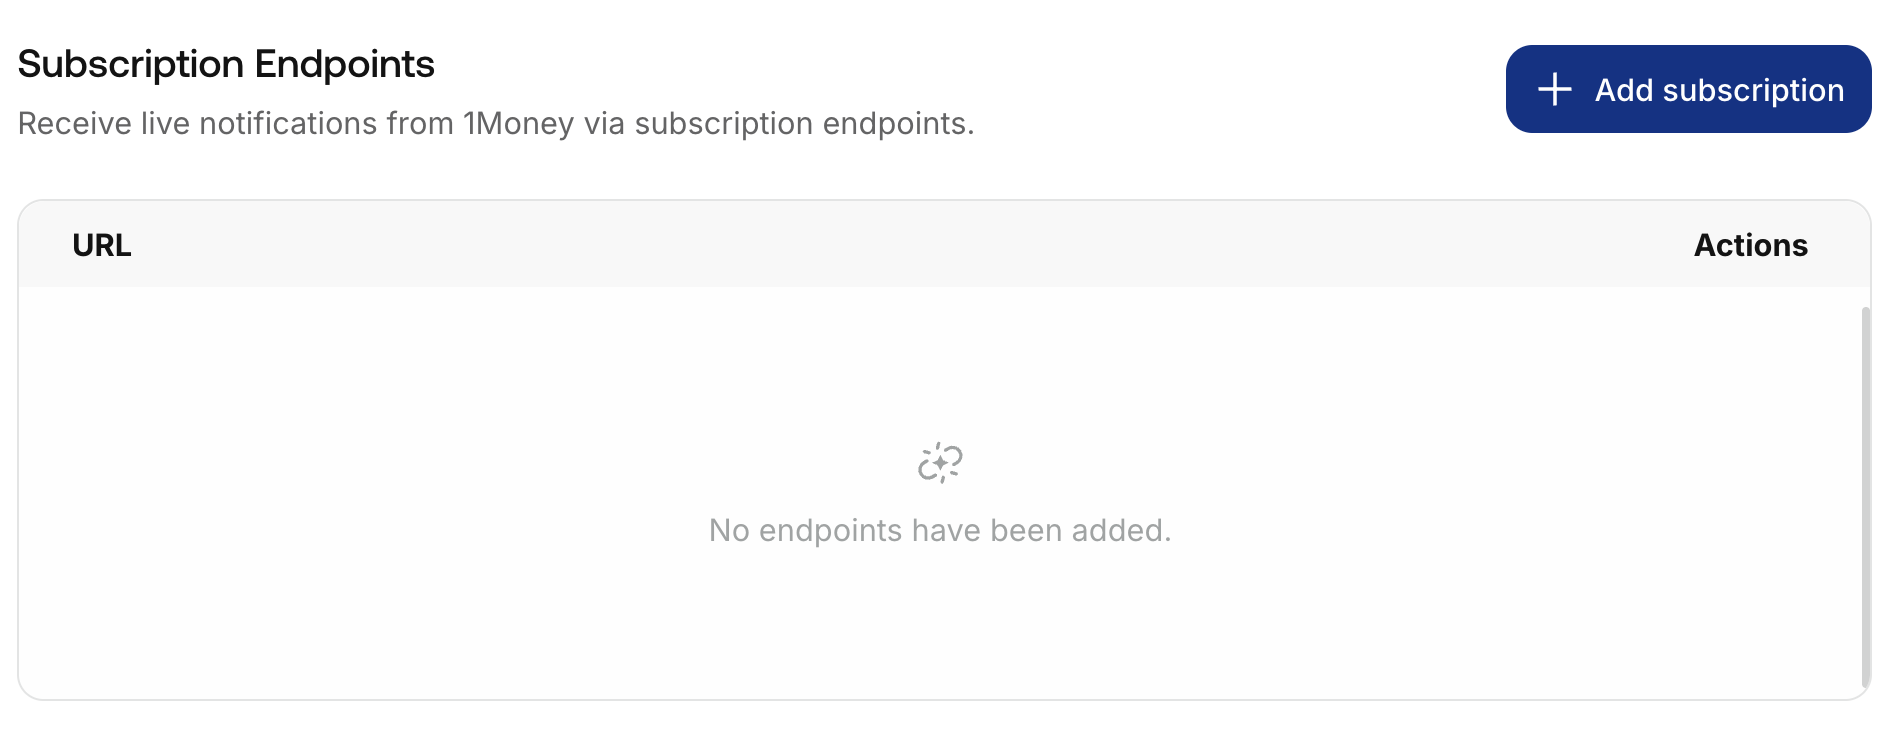
After logging in, go to the Settings to add a Subscription URL for your webhook:

Step 2. Create a New Webhook

curl --request POST \
     --url https://sandbox-api.1money.com/v1/webhooks \
     --header 'X-External-Id: <Generated-UUID>' \
     --header 'accept: application/json' \
     --header 'content-type: application/json' \
     --data '
{
  "callback_url": "https://test.com/webhook",
  "memo": "Global"
}
{
  "webhook_id": "cbd2a510-8974-11f0-b308-2eaa4f6974f2",
  "callback_url": "https://test.com/webhook",
  "memo": "Global",
  "created_at": "2025-08-21T07:56:57.981Z",
  "modified_at": "2025-08-21T07:56:57.981Z"
}

Be sure to save the webhook_idfrom the response! You will need it for testing and enabling the webhook later.

Step 3. Create a Webhook Handler

here's an example for Node.js:

const express = require('express');
const bodyParser = require('body-parser');

const app = express();
const port = 3000;

// Parse incoming JSON payloads
app.use(bodyParser.json());

// Basic webhook handler endpoint
app.post('/webhooks', (req, res) => {
  console.log('--- New Webhook Received ---');
  console.log('Headers:', JSON.stringify(req.headers, null, 2));
  console.log('Payload:', JSON.stringify(req.body, null, 2));
  
  // Custom processing logic here, such as updating a database or triggering workflows

  // Always respond with a 2xx status to acknowledge receipt
  res.status(200).send('Webhook received successfully!');
});

// Start the server
app.listen(port, () => {
  console.log(`Server running at http://localhost:${port}`);
  console.log('Listening for webhooks at /webhooks');
});

Step 4. Test the Webhook

Test your webhook to ensure it’s working correctly before enabling it.

# Send a test event to your webhook
curl -X POST "https://sandbox-api.1money.com/v1/webhooks/external/" \
  -H "Authorization: Bearer your_1money_api_key" \
  -H "Content-Type: application/json" \
  -d '{
    "event_type": "customer.created",
    "test_data": {
      "id": "test_customer_123",
      "email": "[email protected]"
    }
  }'

Check the Webhook Logs

# View webhook delivery logs
curl -X GET "https://sandbox-api.1money.com/v1/webhooks/external/{webhook_id}/logs" \
  -H "Authorization: Bearer your_1money_api_key"

# Retrieve upcoming events for the webhook
curl -X GET "https://sandbox-api.1money.com/v1/webhooks/{webhook_id}/events" \
  -H "Authorization: Bearer your_1money_api_key"

Step 4. Enable the Webhook

Once you’ve tested your webhook and confirmed it’s working, enable it to start receiving live events.

curl -X PATCH "https://sandbox-api.1money.com/v1/webhooks/{webhook_id}" \
  -H "Authorization: Bearer your_1money_api_key" \
  -H "Content-Type: application/json" \
  -d '{"status": "active"}'

{
  "id": "webhook_abc123",
  "status": "active",
  "url": "https://your-domain.com/webhooks/1money",
  "events": ["customer.created", "customer.updated"],
  "created_at": "2024-01-15T10:30:00Z",
  "updated_at": "2024-01-15T10:35:00Z"
}

Your webhook is now active and will receive live events.

Webhook Object reference:

A full reference with event type examples is available here.